This tutorial will show you how to create GBDK graphic assets using AI.
First of all, you
will have to create an image using your prefered AI image generator.
I was using Midjourney (https://midjourney.com)
in this tutorial.
The prompt used was „16
bit pixel art, a star system photographed from space, by studio
ghibli, cinematic still, hdr“
with
a chaos factor of 20 and Midjourney version 4.
It
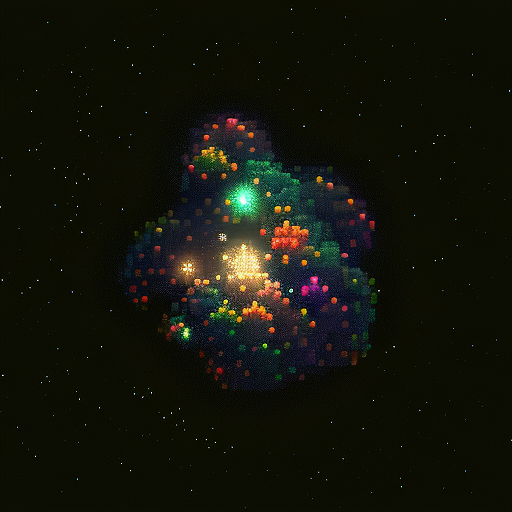
resulted in the following image:

Conversion to Game Boy colors
First,
we will have to convert the image’s color palette using Gimp
(https://gimp.org).
Load
the image with Gimp and click on Image→Mode→Greyscale.
Next,
click on Image→Mode→Indexed.
Click
on „create optimum palet“
and set the number of colors to 4. Hit „Ok“ to continue.
Now
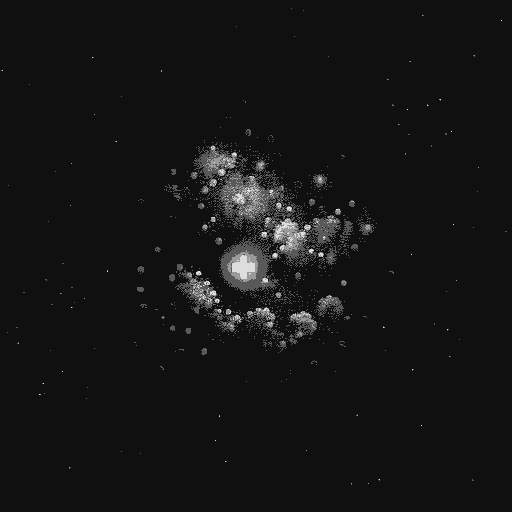
you can save the converted image.

Export the image to png.
Image
optimization
The
image has got to be optimized for the conversion.
Go
to Pixel It -
Create pixel art from an image (giventofly.github.io) and upload
the image.
Set the Block Size to 7, click Grey Scale, disable
Palette, set the max width and height to the desired values (for
maps, the maximum is 240x160 pixel). Don’t forget to keep the
aspect ration of the picture.
Now you can click on
„Download Image“ to get the optimized image.
Final
Conversion
The
final conversion will be done using png2gbtiles
.
Unpack it and copy the downloaded, optimized image into the
same folder.
Now all you have to do is open up a command
prompt, change the directory to that of png2gbtiles, and enter
png2gbtiles.exe
<imagename> -gbm -g -i -pal=colors.txt
The content of the file colors.txt should be
FFFFFF
929390
545351
000000
This will result in two files, a .gbm file containing the map data, and a .gbr file containing the tileset.
Those
can be processed and converted using GBTD
and GBMG
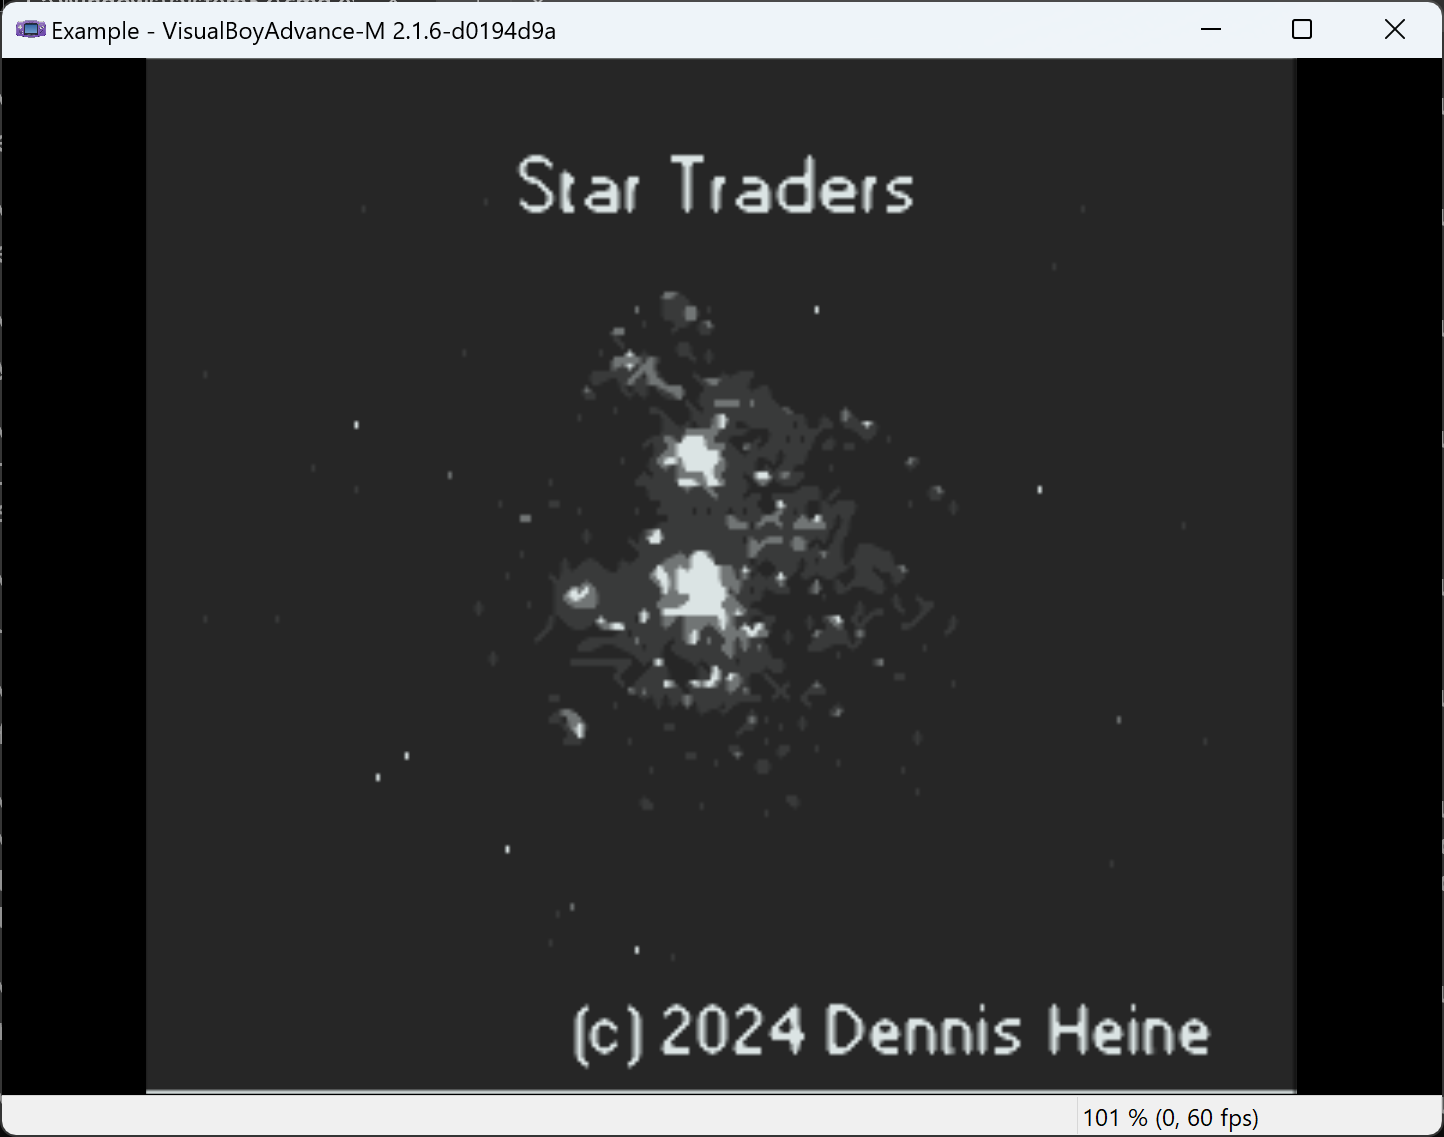
The result:

